The roof inspection process in Denver: what inspectors check, step by step
A complete guide to what a professional roof inspection actually involves in Denver, when to schedule one, what a certified inspector evaluates at each stage, and why the most consequential hail damage is invisible from the ground. Free inspection, written report with photos in 24 hours.
Book your free inspection
Pick a time and we send a written report with photos within 24 hours.
What a professional Denver roof inspection actually involves
Direct answer: A complete roof inspection in Denver runs six stages, a pre-inspection briefing, a ground-level survey, a hands-on roof-level assessment, an attic check, written documentation, and a post-inspection review. The most consequential damage in Denver's hail environment, fiberglass mat fracture beneath the shingle surface, is not visible from street level and requires roof-level access to identify.
Precision Exteriors Restoration is a licensed Denver roofing contractor, Colorado License #0248041, and an Owens Corning Preferred Contractor providing free roof inspections for residential and multi-family properties throughout Denver and the Front Range. Most homeowners invite a contractor onto their roof without a clear understanding of what a thorough inspection should cover. This guide changes that, so when you schedule an inspection you know what to expect, what questions to ask, and what a complete inspection report should contain. For the broader service overview, see our Denver roof inspections hub, or start from the Precision Exteriors home page.
When a roof inspection is the right call in Denver
Direct answer: Schedule a Denver roof inspection after any hail of 1 inch or larger, once a year as a maintenance practice, before listing or buying a home, when interior symptoms appear, and before filing an insurance claim. A roof inspection is appropriate in more situations than most Denver homeowners realize.
After hail or wind
Denver and the surrounding Front Range sit in Hail Alley, one of the highest hail frequency zones in the country. After a storm that produced hail of 1 inch or larger in your ZIP code, an inspection is the right step even if you see no damage from the ground.
Annually, as maintenance
Denver's UV intensity at altitude plus 150+ freeze-thaw cycles per year stress flashing sealants and caulk, so roofs here deteriorate faster than manufacturer service ratings assume. An annual inspection establishes a documented condition baseline.
Before listing a home
A pre-sale roof inspection in Denver is increasingly standard. It removes roof condition as a buyer concern and lets sellers address findings proactively rather than during closing negotiations.
When symptoms appear
Water stains on ceilings, dripping from light fixtures after snowmelt, or musty attic odors all warrant immediate inspection to identify the entry point before the next weather event.
Before an insurance claim
Inspection before filing establishes independent documentation of the storm damage across all systems, not just the roof, before the adjuster's scope becomes the baseline. This sequencing consistently produces better claim outcomes.
After a chinook event
Front Range chinook winds lift and reseat shingles, leaving failed sealant bonds that look identical to sound ones from any distance. Windward slopes after a wind event are a priority check.
Ground-level assessment misses the damage that matters
Direct answer: The most consequential hail damage in Denver, fiberglass mat fracture, looks completely normal from the ground or a ladder at the eave. Confirming it requires being on the roof surface and pressing the shingle to feel the fracture. The same is true for flashing, sealant strips, and ventilation.
Fiberglass mat fracture compromises the shingle's structural integrity. The damaged area will crack and curl over the following months and years as thermal cycling stresses the weakened mat. A roof with widespread mat fracture that was not identified after a hail event will fail prematurely and without warning from a homeowner's perspective.
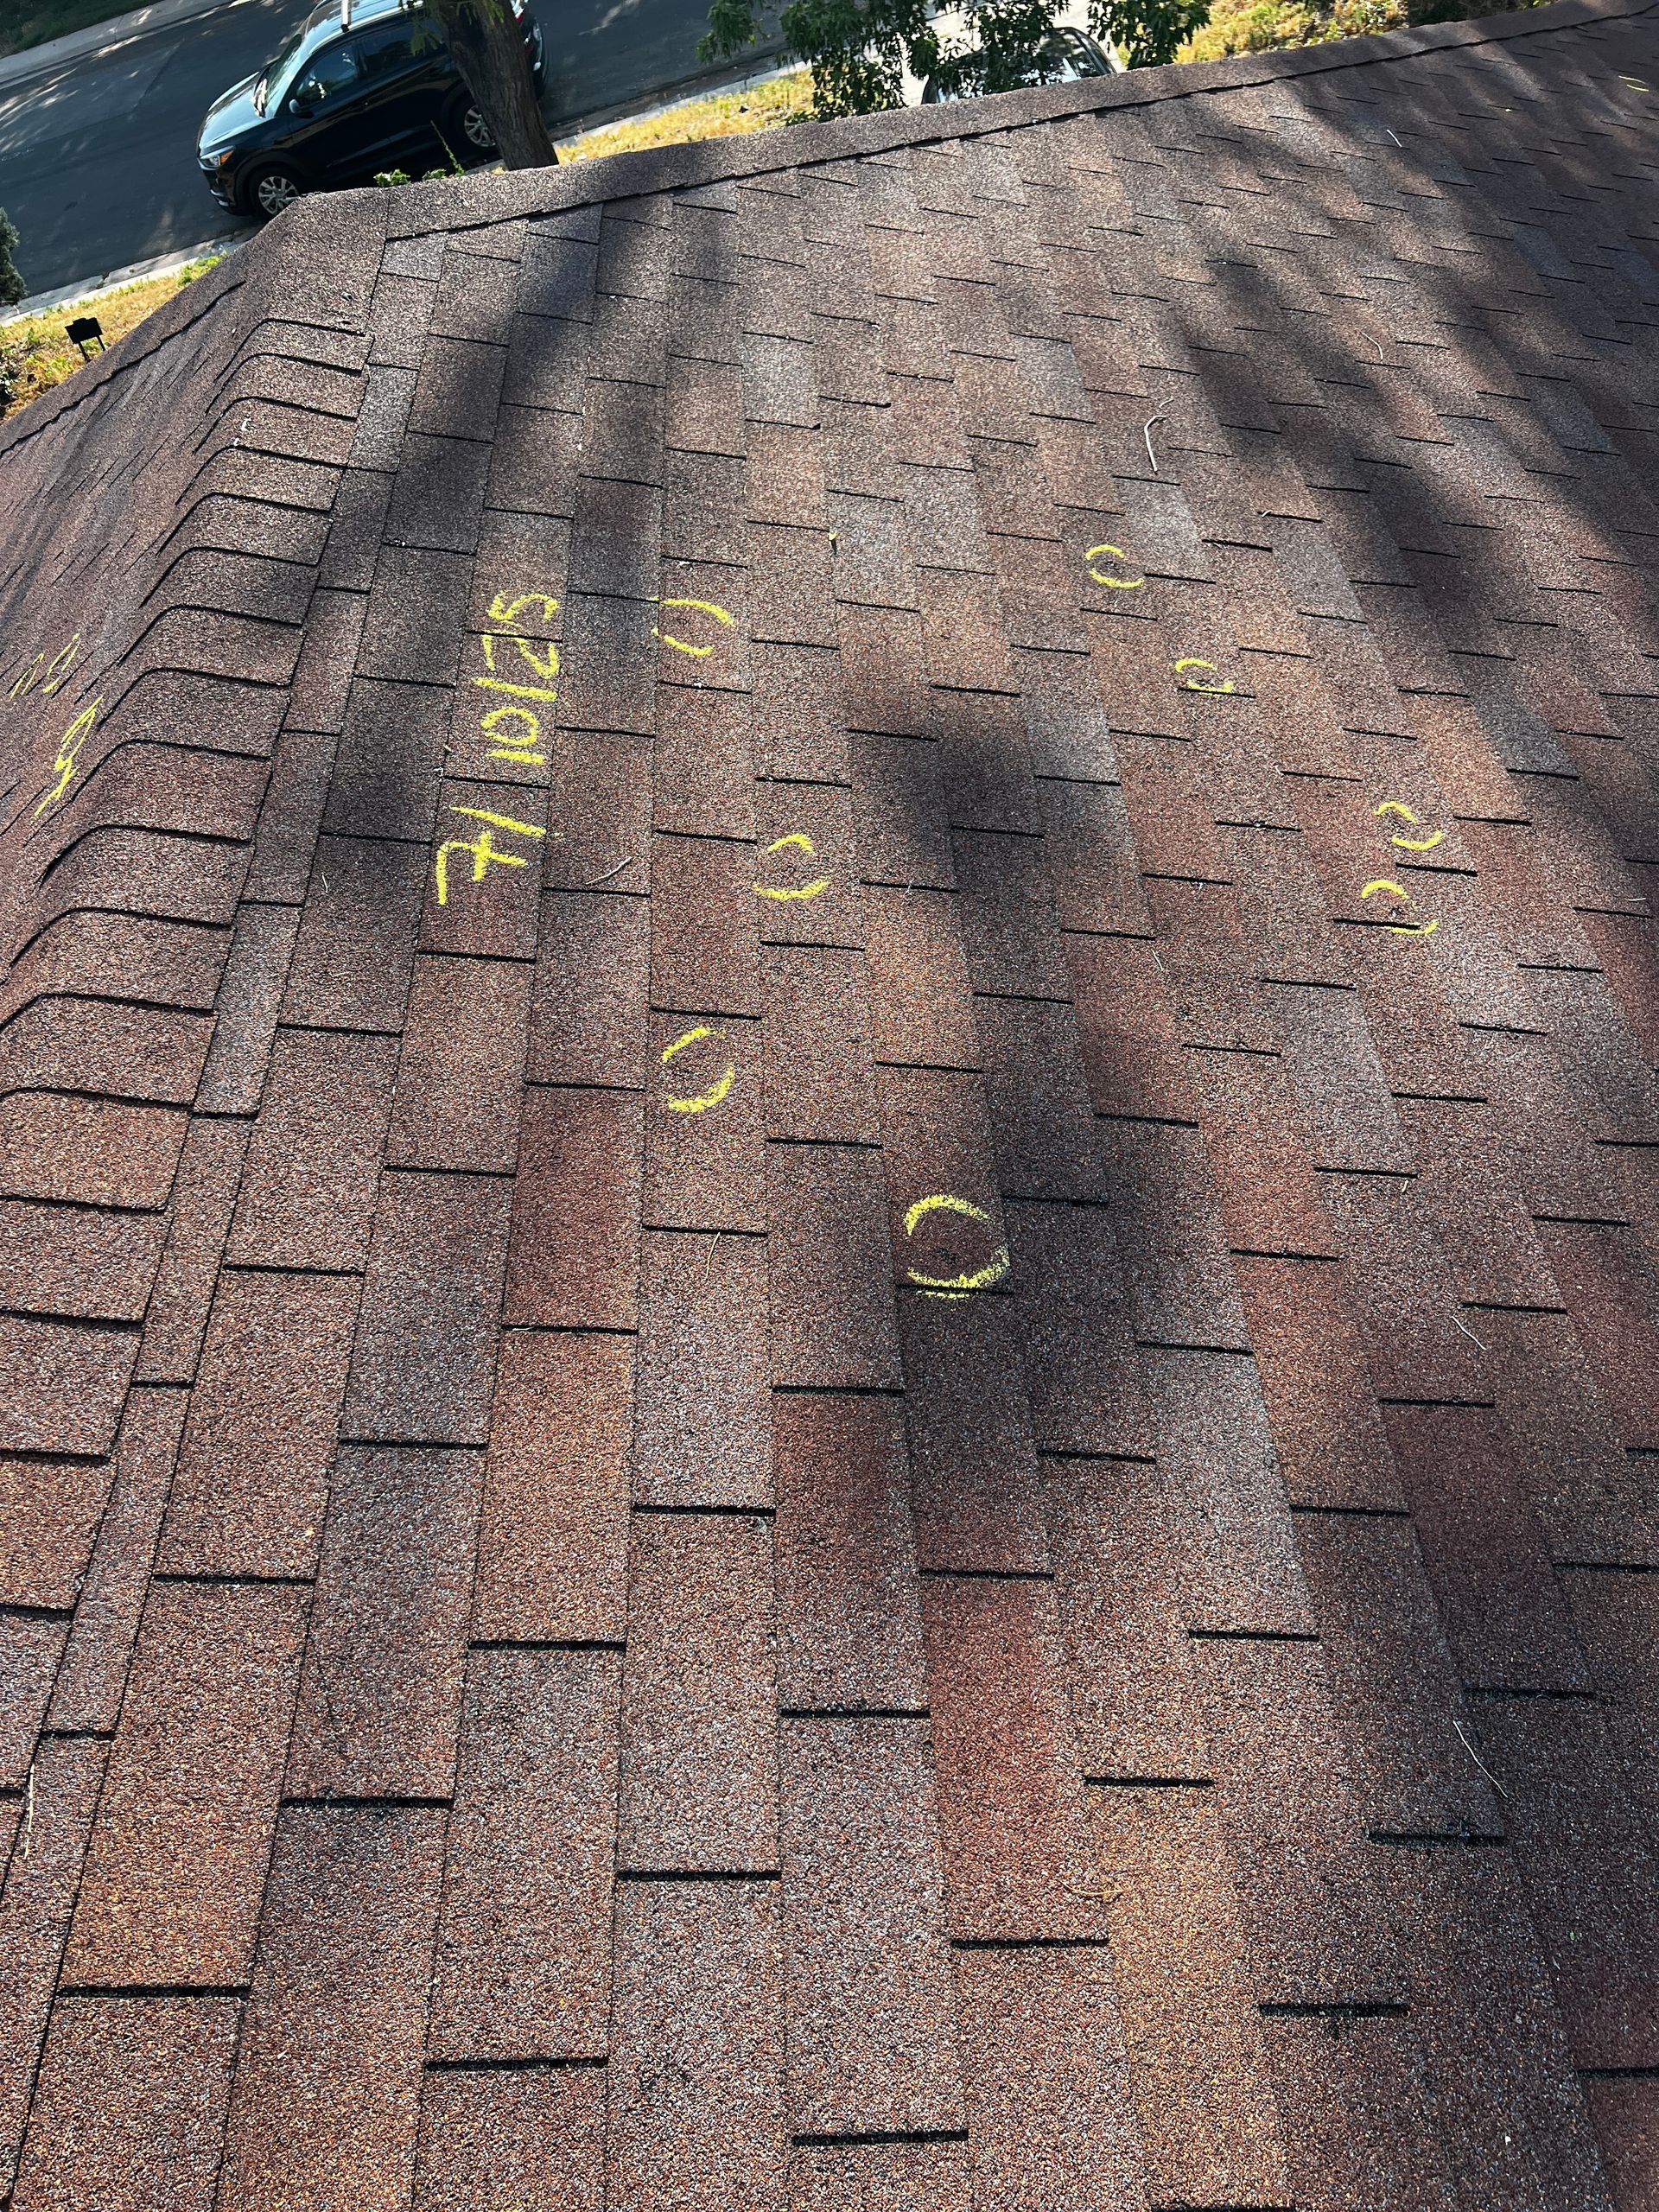 Hail damage, Denver metro
Mat fracture is invisible from below
From the ground, a shingle with fiberglass mat fracture looks normal. Even at the eave the granule surface may show only a slight depression. Many fractures are not visible without pressing on the shingle at roof level.
Flashing needs close access
Pipe boot seals, step flashing at wall transitions, counter flashing at chimney bases, and valley flashing cannot be evaluated from the ground. These are where the majority of Denver roof leaks originate.
Sealant strips need hand pressure
A failed sealant bond that has temporarily reseated looks identical to a properly bonded shingle from any distance. Confirming integrity, especially on windward slopes after a chinook, requires running hands across the surface to find tabs that lift freely.
Ventilation is assessed in context
Whether the soffit intake is open, the ridge vent properly installed, and the intake-to-exhaust balance correct requires looking at the components directly, soffit panels from below the eave and ridge vent from the ridge.
The complete Denver roof inspection process, step by step
Direct answer: The process moves from context to ground survey, to a hands-on roof-level assessment of shingles, flashings, and ventilation, then to the attic, then to a documented findings report, and finally to a no-pressure review with you.
Pre-inspection briefing and context
Before accessing the roof, a thorough inspection starts with a brief conversation to establish context. This shapes what the inspector pays attention to and how findings are documented. What you should tell your inspector before they access the roof:
- The date of any recent hail or wind event you are aware of.
- Any interior symptoms, ceiling stains, drips, or musty attic odors.
- The approximate age of the current roof and whether it has had one or two cycles.
- Whether this inspection is connected to an insurance claim in progress or under consideration.
- Any repairs made to the roof in recent years.
Ground-level exterior survey
The inspection begins from the ground, a systematic survey of all roof planes, gutters, downspouts, siding, and exterior components visible from street level and the property perimeter.
- Roof plane and shingle condition: missing shingles, obvious displacement, visible sagging, and ridge and hip alignment.
- Gutter condition: denting from hail, pull-away from fascia on windward elevations, and downspout termination. Distributed gutter denting is the clearest ground-level signal that roof-level hail assessment is warranted.
- Soft metals at accessible height: drip edge, lower-slope vent caps, and windward window frames. Denting on soft metal is the forensic indicator that significant hail reached the property.
- Siding on all elevations: cracking, impact marks, and displaced panels that establish storm direction and exposure.
- Visible eave and rake flashing: drip edge integrity and any pull-away or displacement.
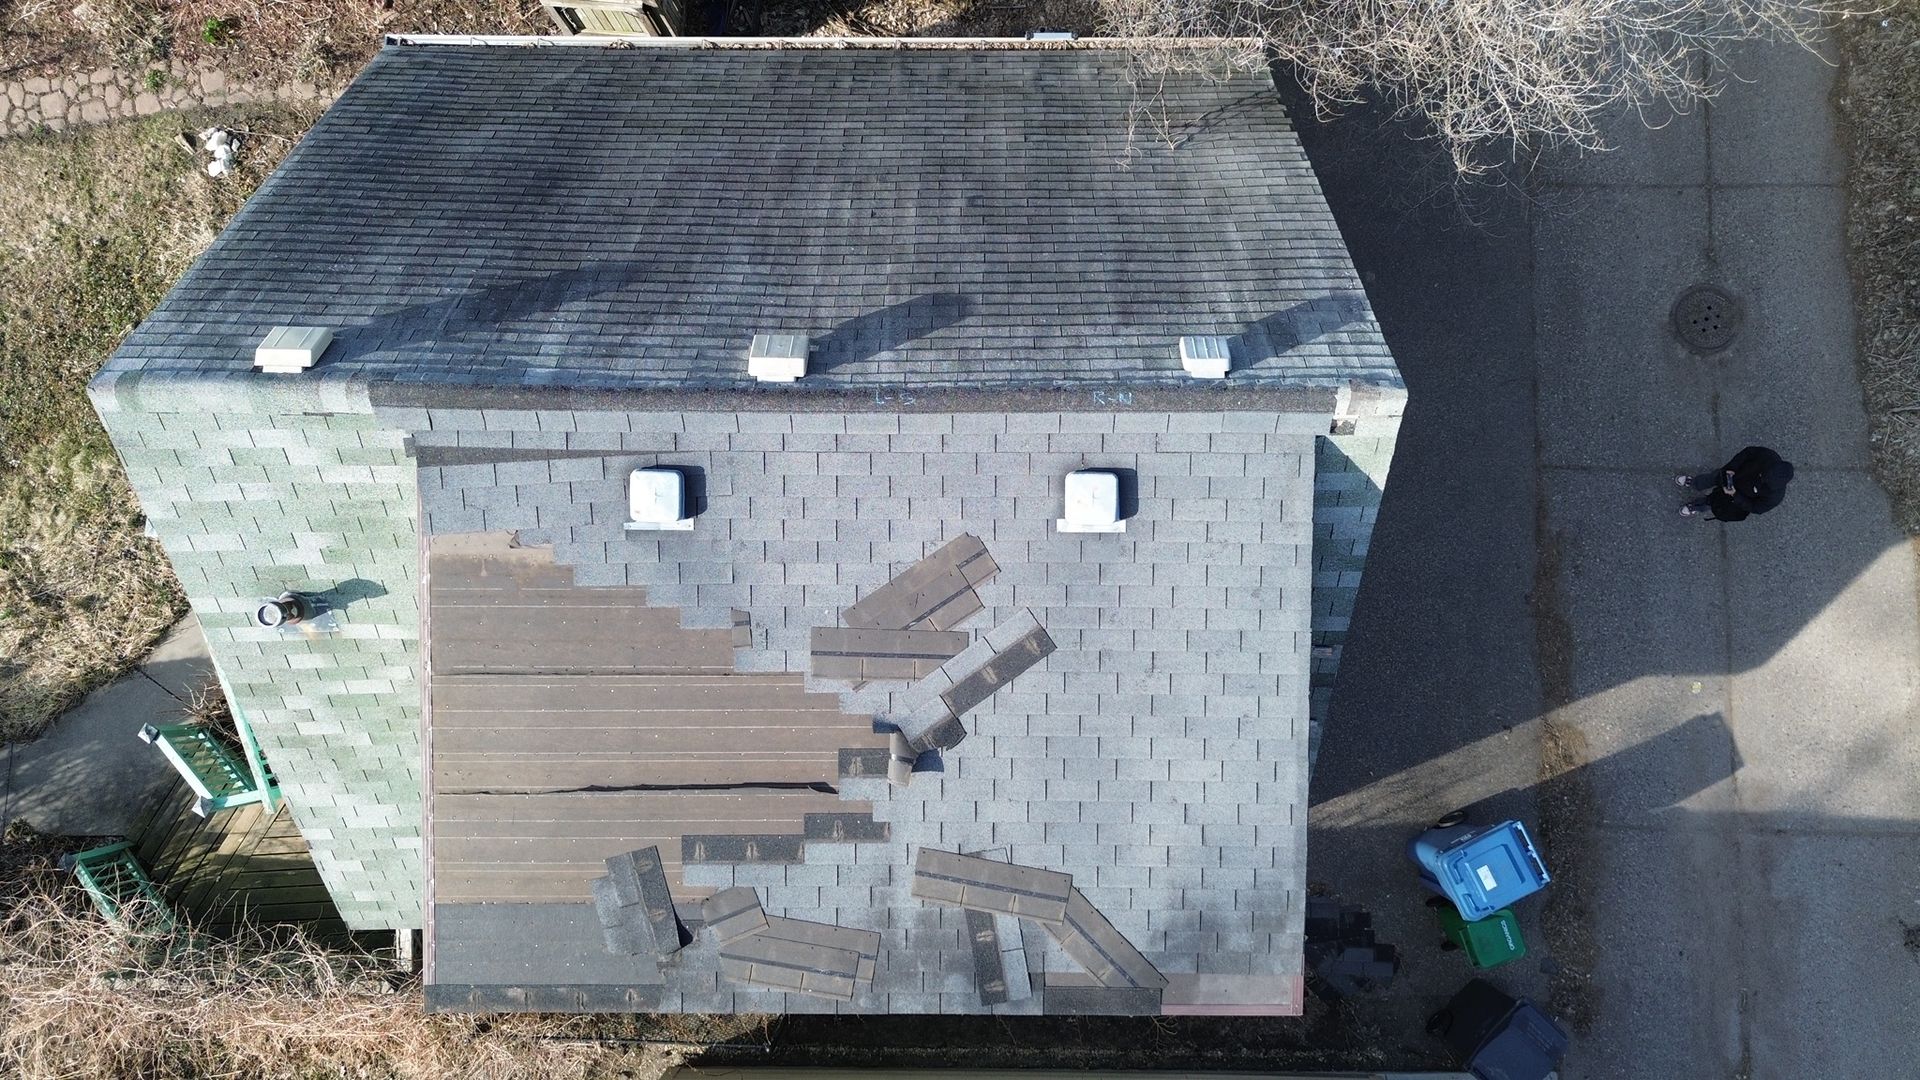
Roof-level inspection
When conditions allow safe access, pitch, surface, and equipment, the inspector moves to roof level for the component-by-component assessment the ground survey cannot provide.
- Shingle field: granule adhesion and loss pattern (distributed suggests hail, concentrated at the eave suggests wear, directional suggests wind-scour) and bare mat areas.
- Fiberglass mat fracture: each shingle on the impact slopes is pressed firmly. Intact mat springs back, a fracture leaves a soft, yielding zone that does not recover. This requires walking the slope.
- Sealant strip integrity: tabs are lifted manually, particularly on windward slopes and lower courses, to check adhesion.
- Pipe boots: seal condition, rubber boot integrity, and nail flange adhesion. Pipe boot failures are the single most common source of active roof leaks in Denver's housing stock.
- Step and chimney flashing: step flashing at wall transitions is the second most common Denver leak source, and mortar at counter flashing reglets cracks from freeze-thaw cycling.
- Valleys, skylights, ridge and hip caps: valley metal condition, skylight curb flashing on all four sides, and ridge cap bond, the first component to fail in wind and to show UV degradation.
Attic inspection
A complete inspection includes an attic-level assessment when access is available. The attic reveals conditions invisible from the roof surface, and in Denver's climate some of the most important findings are underneath the deck.
- Moisture staining on the deck underside: staining patterns reveal historical leak pathways and identify the entry point, ridge, penetration, or eave ice-dam history.
- Deck condition from below: soft, spongy, or delaminated sections, common in Denver's older housing stock from years of small moisture intrusion.
- Insulation and ventilation: insulation blocking soffit intake is one of the most common ventilation problems in Denver's mid-century homes.
- Condensation or frost damage: inadequate winter ventilation can frost the deck underside and damage sheathing over time.
Documentation and findings report
A professional inspection produces a documented record, not just a verbal summary. A complete Denver roof inspection report should contain:
- Photo documentation of all significant findings at roof level, including close-ups of mat fracture under compression and gutter denting with a measurement reference.
- Classification of each finding as storm-related, wear-related, or maintenance deficiency. Accurate classification produces clean insurance outcomes.
- Storm date correlation, noting how the damage pattern is consistent or inconsistent with a documented storm event.
- Component condition summary for shingles, flashings, ventilation, gutters, and accessories, each with a rating and recommended action.
- Recommended next steps, based on findings, not on what produces the largest scope of work.
Post-inspection review
After the inspection, the findings are reviewed with you, either on site or in a follow-up with the documented report. The review covers what was found at each component, what it means functionally, and the recommended next step. For storm damage, that includes whether the pattern is consistent with storm impact and whether a claim is appropriate.
- What the review does not include is pressure to decide on the day of the inspection.
- The inspection report is yours regardless of what you decide.
- If repair or replacement is recommended, you receive the written findings and choose on your own timeline.
Why Denver roofs need a roof-level inspection
Denver's combination of Hail Alley frequency, high-altitude UV, and a long freeze-thaw season puts roofs under more stress than almost anywhere in the country, which is why a hands-on inspection matters here.
Types of roof inspections in Denver
Direct answer: Not every inspection has the same purpose. A post-storm inspection focuses on storm damage across all systems, an annual inspection documents a condition baseline, pre-sale and pre-purchase inspections serve buyers and sellers, and an insurance claim support inspection optimizes documentation for the adjuster.
Which inspection fits your situation
- Post-storm inspection: storm damage across roof, gutters, siding, and windows, documented for insurance, scheduled as soon as practical after a qualifying event.
- Annual maintenance inspection: comprehensive condition assessment, ideal in spring after the freeze-thaw season or fall before winter loading.
- Pre-sale inspection: findings categorized by urgency and likely buyer concern, so sellers can decide what to address before listing.
- Pre-purchase inspection: age estimation, remaining service life, immediate repair needs, and cost implications for buyers.
- Insurance claim support inspection: storm-damage-focused with storm date correlation and photos suitable for adjuster review.
- Symptom-driven inspection: triggered by an interior leak or stain, focused on locating the entry point fast.
What a Denver roof inspection does not include
Direct answer: A roof inspection is not a structural engineering assessment, it does not guarantee insurance coverage, and it is not a warranty. It is a documented assessment of current condition at the time of inspection, and conditions can change with later weather.
Not an engineering assessment
If structural concerns appear, deck damage, rafter condition, or load-bearing issues, we document what we observe and recommend appropriate consultation, but we do not provide engineering certifications.
Not a coverage guarantee
Findings documentation supports the claim process, it does not create a coverage obligation. Claim approval decisions rest with the insurer.
Not a warranty
An inspection is an assessment of current condition at the time of inspection. Conditions can change with subsequent weather events.
Roof inspection versus home inspection in Denver: a licensed home inspector provides a broad assessment of all major home systems with a generalist's depth. A roofing contractor inspection by a qualified installer provides roofing-specific depth, particularly in hail damage methodology, flashing assessment, and ventilation evaluation, that home inspectors are not trained to match. For pre-purchase decisions in Denver, both have value and serve different purposes. Once findings point to action, see our guidance on repair versus replacement in Denver and our insurance and storm damage guidance.
A documented inspection with no pressure
Our inspections are free, complete, and yours to keep. Between certified inspectors, full photo documentation, and direct insurance help, the path forward is low risk from the first call.
Complete photo documentation
Every significant finding is photographed at roof level, with mat fracture under compression and gutter denting captured for your records and your insurer.
We handle your insurance claim
We classify damage accurately, correlate it to the storm date, and communicate directly with your insurer to support a clean claim outcome.
The report is yours, no obligation
You receive the written findings regardless of what you decide. No pressure to make a decision on the day of the inspection.
 Wind and storm response, Denver metro
Denver metro and Front Range inspections
Direct answer: Precision Exteriors Restoration provides free, documented roof inspections throughout Denver and the Front Range, from our downtown Denver office at 999 18th St Unit 3000, including Aurora, Arvada, Lakewood, Centennial, Westminster, and Highlands Ranch.
The Precision Warranty
Protected in writing, for the long run
When an inspection leads to repair or replacement, every Precision Exteriors Restoration project is backed in writing, so your Denver roof stays protected long after our crew leaves.
10-Year Workmanship Warranty
The Precision Warranty covers the quality of our installation for a full decade, in writing.
Certified-Installer Manufacturer Warranty
As an Owens Corning Preferred Contractor and CertainTeed Master Applicator, we register manufacturer-backed material warranties most contractors cannot offer.
Licensed, Insured, Local Since 2016
Colorado License #0248041, BBB A+ accredited, with 3,000+ completed Front Range projects.
Roof inspection process Denver: questions answered
How long does a roof inspection take in Denver?
Can you see hail damage from the ground in Denver?
What does hail damage look like on a Denver roof?
Do I need to be home during the roof inspection?
What is the difference between a roofing inspection and a home inspection?
Should I get a roof inspection before filing an insurance claim in Denver?
How often should Denver homeowners get their roofs inspected?
What is included in a roof inspection report from Precision Exteriors?
Schedule a free, documented roof inspection
Understanding the inspection process before scheduling one is what makes the difference between an inspection that creates clarity and one that just produces a quote. Free inspections, complete documentation, no obligation.